
Swapping on Optimism with Relay: A Step-by-Step Guide
Optimism is one of the most popular Ethereum Layer 2 solutions, offering lightning-fast transactions and drastically reduced gas fees. Built to scale Ethereum without sacrificing its security, Optimism opens the doors to cheaper DeFi, NFTs, and gaming—all while maintaining the Ethereum experience you’re used to.
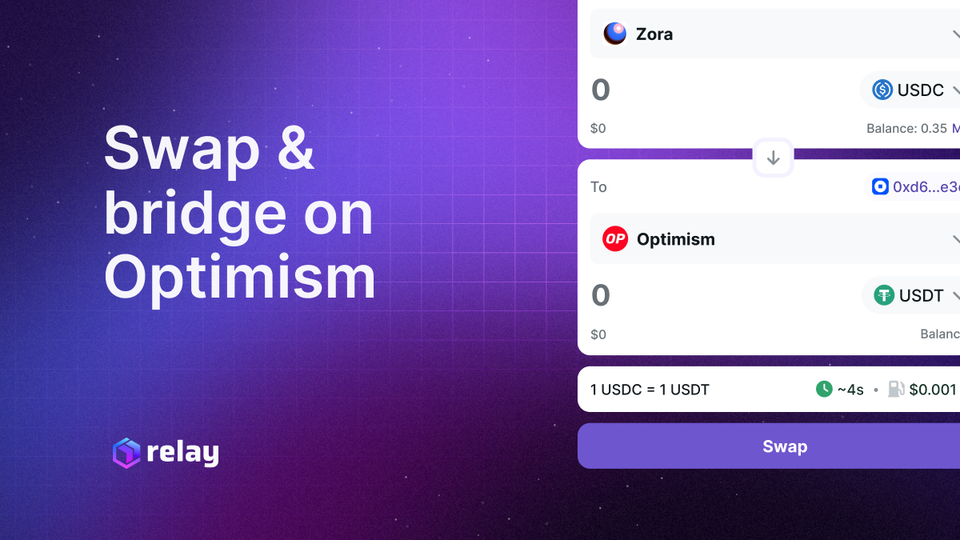
If you’re ready to swap or bridge tokens to Optimism, this guide will walk you through how to do it seamlessly using Relay—a fast, secure, and user-friendly cross-chain platform.
Why Use Optimism?
Optimism is an Optimistic Rollup—a Layer 2 scaling solution that inherits Ethereum's security while allowing for faster and cheaper transactions. It’s trusted by major DeFi protocols like Uniswap, Velodrome, and Aave.
Benefits of Optimism:
- ✅ 80-90% cheaper gas fees compared to Ethereum
- ✅ Near-instant transaction finality
- ✅ Deep integration with Ethereum-based dApps
- ✅ Easy wallet compatibility (MetaMask, WalletConnect, etc.)
Why Use Relay to Bridge and Swap?
Relay is the easiest way to get your assets on Optimism, whether you’re swapping tokens or bridging from Ethereum, Arbitrum, Polygon, or other chains.
With Relay, you get:
- ⚡ Fast, secure bridging
- 💱 Token swaps across networks
- 🛡️ Simplified user experience
- 🔗 Support for multiple chains and wallets
What You’ll Need
- A wallet like MetaMask
- ETH (or any supported asset) on your source chain
- Relay to handle the swap or bridge
- A small amount of ETH for gas (on the source chain)
🔁 How to Swap or Bridge to Optimism Using Relay
🔹 Step 1: Connect Your Wallet
- Go to Relay.link
- Click Connect Wallet and select MetaMask or WalletConnect
- Make sure you're connected to the network you're starting from (Ethereum, Arbitrum, etc.)
🔹 Step 2: Choose Your Action — Swap or Bridge
Relay lets you either bridge assets cross-chain or swap tokens on a single chain.
- To Bridge & Swap:
- From: your current chain (e.g. Ethereum)
- To: Optimism
- Asset: e.g. ETH or USDC
- Enter the amount
- Click Bridge Now and approve in your wallet
🔹 Step 3: Wait for Confirmation
Bridging to Optimism typically takes less than 5 minutes. Relay will provide real-time updates on your transaction status. Once confirmed, your assets will be live on Optimism and ready to use in dApps like Uniswap or Aave.
🔹 Step 4: Switch Your Wallet to Optimism
Once your bridge is complete:
- Open MetaMask
- Switch to the Optimism network
- If you don’t see it, add it via Chainlist or let Relay auto-prompt the addition
- You’ll now see your bridged or swapped assets in your wallet on Optimism!
What Can You Do on Optimism?
With your funds on Optimism, here’s what’s next:
- 🚀 Trade on Velodrome or Uniswap
- 🧠 Lend, borrow, or earn on Aave
- 🖼️ Mint NFTs or use Optimism NFTs
- 🌉 Bridge back to Ethereum whenever you want—again using Relay
Tips for Using Optimism and Relay
- 🧠 Double-check addresses and amounts before bridging
- 💸 Keep a small amount of ETH on Optimism for gas once you’re bridged
- 🔒 Always verify you're on relay.link and not a fake site
- 🛠️ Use Chainlist to easily add Optimism to MetaMask if needed
Conclusion
Swapping and bridging to Optimism has never been easier thanks to Relay. Whether you're looking to take advantage of low gas fees or tap into Optimism's growing DeFi ecosystem, Relay provides a fast, secure, and smooth experience.
Ready to get started?
👉 Head to Relay.link and start swapping or bridging to Optimism today.