
How to Swap and Bridge on Arbitrum with Relay: A Step-by-Step Guide

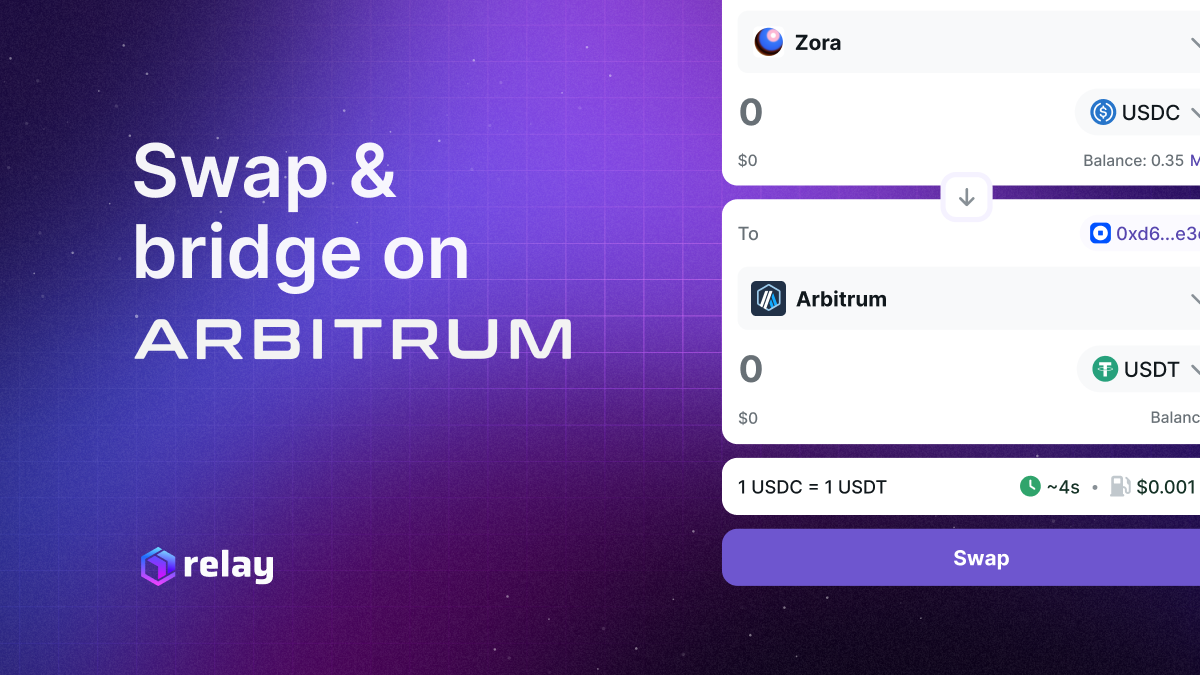
Layer 2 solutions like Arbitrum are paving the way for faster and cheaper transactions. At Relay, we’re committed to making cross-chain operations seamless. In this article, we’ll explore how to efficiently swap tokens and bridge assets on Arbitrum using Relay, while keeping things secure, fast, and user-friendly.
Why Arbitrum?
Arbitrum is one of the leading Layer 2 networks designed to alleviate Ethereum’s scalability challenges. By offering lower fees and faster transaction times, Arbitrum has quickly become the go-to network for users looking to bypass the congestion of the Ethereum mainnet. Whether you’re a seasoned trader or new to the space, Arbitrum’s robust ecosystem provides the perfect environment for executing swaps and bridging your assets.
Key Benefits of Arbitrum:
- Reduced Transaction Fees: Enjoy significantly lower gas costs compared to Ethereum mainnet.
- Speed: Faster confirmations mean you spend less time waiting and more time trading.
- Scalability: With increased throughput, Arbitrum can handle high transaction volumes without compromising performance.
The Relay Advantage
Relay’s integrated platform streamlines complex cross-chain operations into a single, intuitive interface. By consolidating the swap and bridge process, Relay eliminates the need to toggle between multiple protocols. Here’s why using Relay for your Arbitrum transactions is a game changer:
- All-in-One Experience: Execute swaps and bridges in one go—no more juggling between various decentralized exchanges and bridge interfaces.
- User-Friendly Design: Our step-by-step interface guides you through each process, making cross-chain transactions accessible even for beginners.
- Enhanced Security: Relay adheres to strict security protocols to ensure that your assets and data remain safe during every transaction.
- Optimized Rates: Our platform aggregates the best quotes available, ensuring that you get competitive rates on every swap.
How Relay Simplifies Cross-Chain Operations
When swapping tokens or bridging assets, most users typically face multiple steps and fragmented processes. Relay simplifies this by bundling these actions into one fluid operation. Here’s how:
- Single Interface: Manage all your token swaps and bridging actions from one place.
- Automated Process: Relay handles the backend complexity—swapping tokens, moving funds across chains, and even executing additional transactions if needed.
- Speed & Efficiency: With optimized transaction routing, Relay helps minimize wait times and transaction fees.
Step-by-Step Tutorial: Bridging and Swapping on Arbitrum Using Relay
Ready to get started? Follow our detailed guide below to make your first swap and bridge on Arbitrum with Relay.
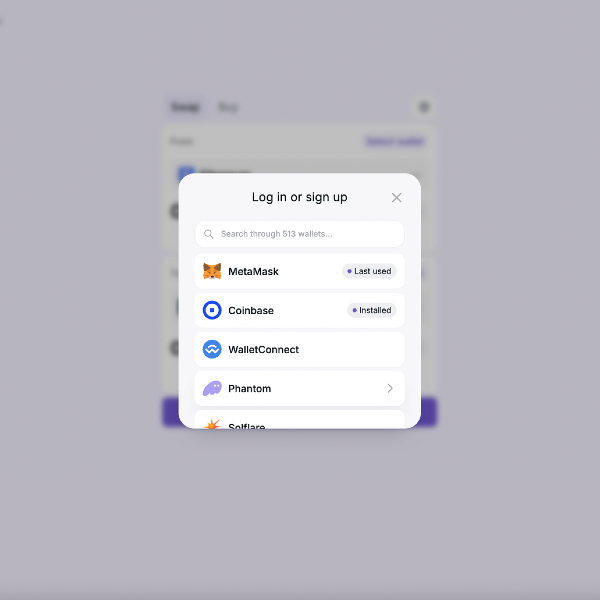
Step 1: Connect Your Wallet
- Action: Open the Relay app and click on “Connect Wallet.”
- Tip: Ensure your wallet (e.g., MetaMask, WalletConnect) is configured to interact with Ethereum and Arbitrum.
- Why: Connecting your wallet securely is the first step to access Relay’s features and initiate cross-chain transactions.

Step 2: Choose Arbitrum as Your Network
- Action: Once connected, select “Arbitrum” from the list of available networks in the Relay interface.
- Tip: Verify that your wallet’s network matches the selected network to avoid any transaction issues.
- Why: Arbitrum’s network selection ensures that your swaps and bridges are executed on a fast and low-cost platform.
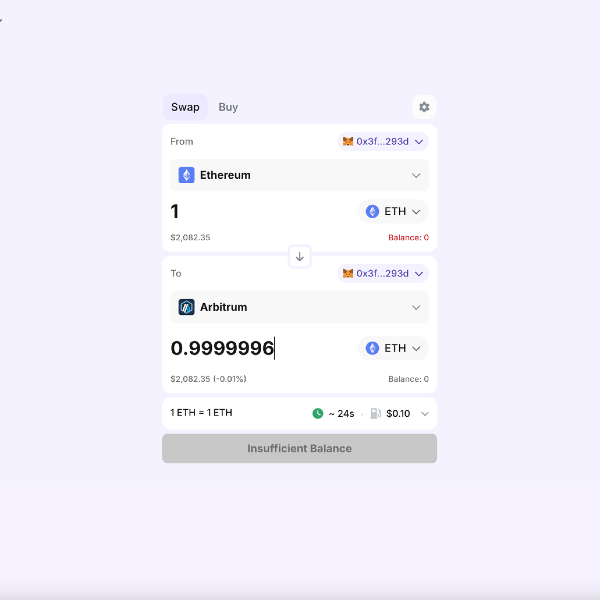
Step 3: Set Up Your Swap or Bridge
- Action: Decide whether you want to perform a token swap, a bridge, or a combined operation.
- For swaps, select the token you wish to exchange and the token you wish to receive.
- For bridging, choose the asset you want to transfer from Arbitrum to another network (or vice versa).
- Tip: Double-check the token addresses and amounts to ensure accuracy.
- Why: Properly configuring the transaction parameters is essential to avoid mistakes and ensure a smooth process.
Step 4: Initiate the Transaction
- Action: Click on “Swap & Bridge” to start the operation.
- Tip: Relay will display a summary of your transaction, including fees, estimated time, and network details. Review this carefully.
- Why: This step bundles multiple operations into one, making the entire process efficient and hassle-free.
Step 5: Confirm and Approve in Your Wallet
- Action: Your wallet will prompt you to confirm the transaction. Approve the transaction after verifying the details.
- Tip: Ensure that you have sufficient native currency (e.g., ETH on Arbitrum) to cover transaction fees.
- Why: Wallet approval finalizes your instruction to Relay and broadcasts the transaction onto the blockchain.
Step 6: Monitor Your Transaction
- Action: Use the Relay dashboard to track your transaction status.
- Tip: Relay’s user-friendly interface allows you to see live updates, so you know exactly when your assets have been swapped and bridged.
- Why: Monitoring the transaction ensures you remain informed and can troubleshoot if any issues arise.
Step 7: Enjoy Your New Tokens or Bridged Assets
- Action: Once the transaction is confirmed, your new tokens or bridged assets will be available in your wallet.
- Tip: Refresh your wallet interface to see the updated balances.
- Why: The final step ensures you have successfully completed your cross-chain operation on Arbitrum using Relay.
Bridging and swapping on Arbitrum has never been easier. With Relay’s intuitive interface and optimized routing, you can now execute cross-chain transactions swiftly and securely. Whether you’re a trader looking to optimize your DeFi strategy or a new user stepping into the world of blockchain, Relay simplifies the complex, letting you focus on what matters most - making the most out of your digital assets.
Embrace the future of decentralized finance on Arbitrum today. Experience the power of seamless swaps and bridges with Relay, and join a community that’s redefining the cross-chain experience.