
How to Bridge ETH to Zircuit: A Step-by-Step Guide
Zircuit is a new zero-knowledge rollup backed by Ethereum security and designed to offer fast, efficient, and cost-effective transactions. As Ethereum gas fees rise and Layer 2 solutions evolve, Zircuit is positioning itself as a powerful option for users who want scalability without sacrificing decentralization. In this guide, we’ll walk you through how to bridge ETH to Zircuit using the fast and user-friendly Relay platform.
Why Bridge ETH to Zircuit?
Zircuit leverages ZK rollups to reduce gas costs, boost throughput, and improve user experience. Bridging your ETH to Zircuit gives you access to an ecosystem designed for:
- ✅ Ultra-low transaction fees
- ✅ Rapid confirmations
- ✅ Ethereum-grade security
- ✅ A growing DeFi and dApp landscape
Whether you're trading, farming yield, or exploring new dApps, Zircuit provides a smooth and scalable user experience.
What You’ll Need
Before bridging, make sure you’re ready with:
- ✅ ETH in your MetaMask or EVM-compatible wallet
- ✅ Access to Relay, a cross-chain bridge that supports Zircuit
- ✅ A small amount of ETH for gas fees on Ethereum
🛡️ Security Tip: Always use the official Relay.link platform and double-check your wallet address before confirming transactions.
Step-by-Step: How to Bridge ETH to Zircuit Using Relay
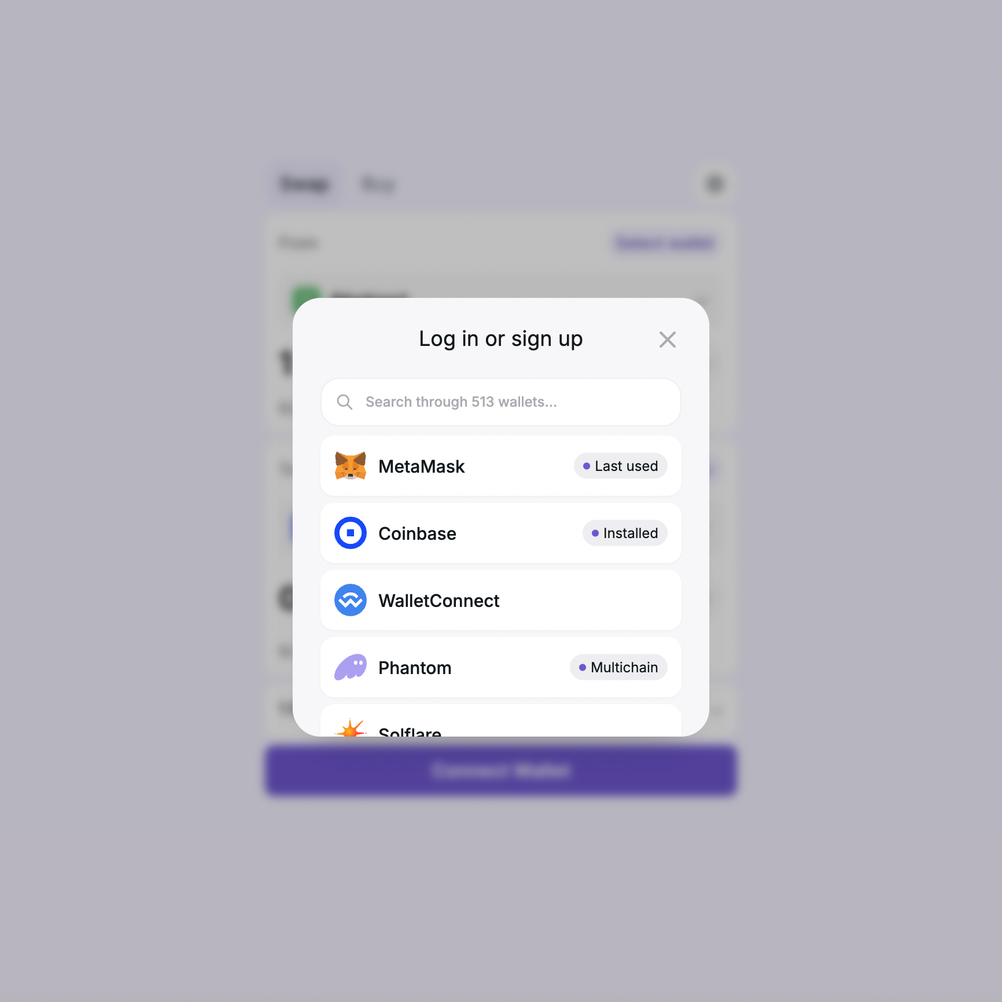
🔹 Step 1: Visit Relay and Connect Your Wallet
- Go to Relay.link
- Click Connect Wallet in the top-right corner
- Choose MetaMask or another EVM wallet
- Make sure you're connected to the Ethereum Mainnet
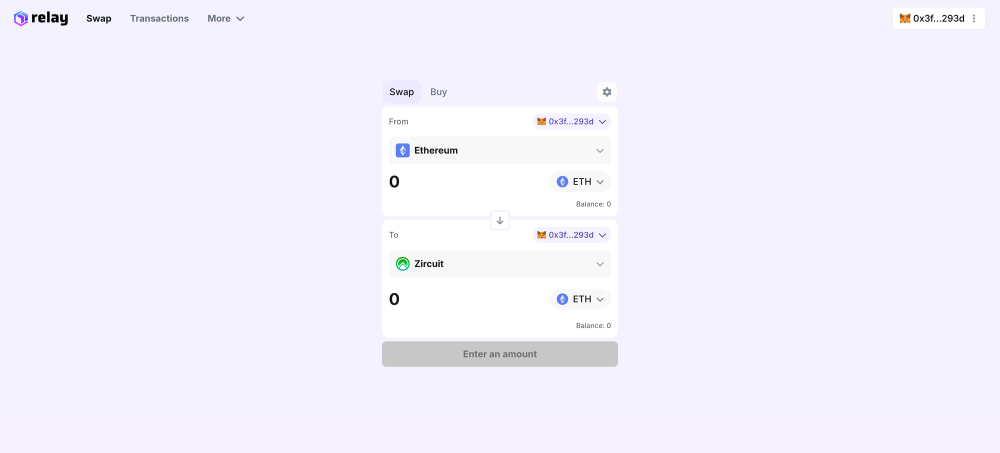
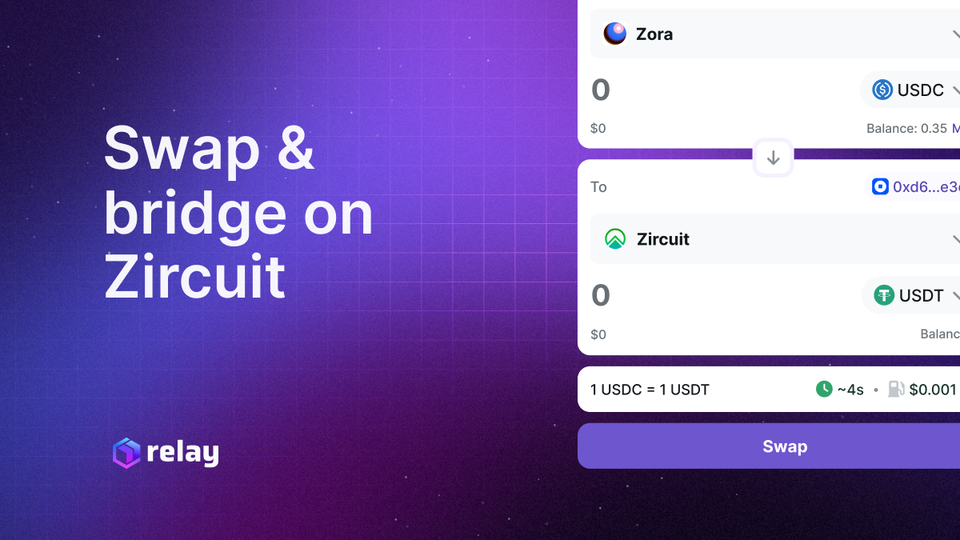
🔹 Step 2: Set Up the Bridge Parameters
- In the Swap tab:
- From: Ethereum
- To: Zircuit
- Asset: ETH
- Enter the amount of ETH you'd like to bridge
- Double-check that the receiving wallet address (your connected wallet) is correct
⚠️ First time bridging? You may be asked to approve ETH for use via Relay—this is standard for ERC-20 transfers.
🔹 Step 3: Confirm and Initiate the Transaction
- Click Swap Now
- Approve the transaction in your wallet (this will include Ethereum gas fees)
- Relay will begin processing the transaction through its secure bridging system
🔹 Step 4: Wait for the Bridge to Complete
- Bridging from Ethereum to Zircuit typically takes a few minutes, depending on network congestion
- You can monitor your progress directly on the Relay dashboard
- Once complete, you’ll receive ETH (as native or wrapped, depending on implementation) on Zircuit
What to Do with ETH on Zircuit?
After your ETH arrives on Zircuit, you're ready to explore the Layer 2 ecosystem:
- ✅ Swap tokens or provide liquidity on Zircuit-native DEXs (coming soon)
- ✅ Interact with dApps and DeFi protocols building on Zircuit
- ✅ Enjoy lightning-fast transactions with minimal fees
- ✅ Bridge back to Ethereum anytime using Relay
Tips for a Smooth Bridging Experience
- 🧠 Double-check networks: Ensure your MetaMask is set to Ethereum before initiating, and to Zircuit to view bridged assets
- 💸 Keep ETH for gas: You’ll still need a bit of ETH on Ethereum to cover the initial bridging gas fee
- 🔍 Track your transaction: Relay’s dashboard lets you monitor the process in real time
- 🛠️ Zircuit RPC: If needed, you can manually add Zircuit to MetaMask using Zircuit’s official docs
Bridging ETH to Zircuit is your entry point to a faster, cheaper, and more scalable Ethereum Layer 2. Thanks to Relay, the process is simple, secure, and requires just a few clicks.