
How to Bridge ETH to Solana: A Step-by-Step Guide
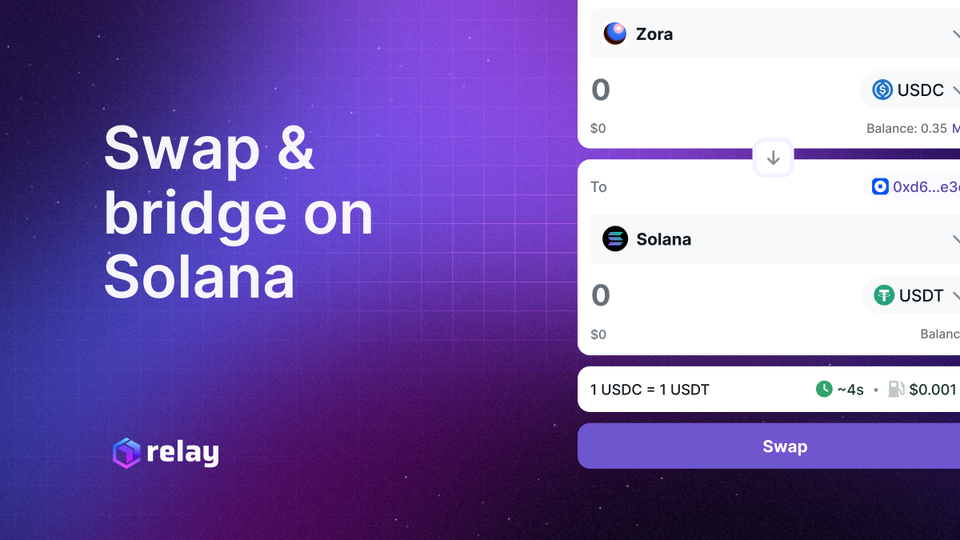
Why Bridge from Ethereum to Solana?
Solana is known for its blazing-fast transactions and ultra-low fees. Bridging your ETH to Solana opens up a world of high-speed DeFi protocols, NFT marketplaces, and ecosystem-native tokens—all with a fraction of the cost and latency you might experience on Ethereum.
Here’s why users are bridging from Ethereum to Solana:
- ✅ Lower Transaction Fees on Solana
- ✅ Faster Settlement Times
- ✅ Access to Solana-based DeFi and NFTs
- ✅ Portfolio Diversification Across Ecosystems
What You’ll Need
Before we get started, make sure you have:
- ✅ ETH in a wallet like MetaMask
- ✅ A Solana wallet such as Phantom
- ✅ Access to Relay, a cross-chain bridge and swap platform
🔐 Security Tip: Always triple-check the URLs and never approve a transaction you don't understand. Use trusted wallets and verified platforms like Relay.
Step-by-Step: How to Bridge ETH to Solana Using Relay
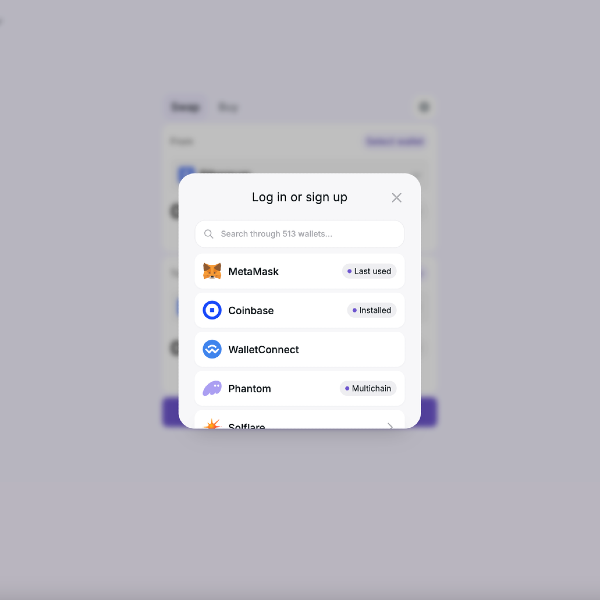
🔹 Step 1: Connect Your Ethereum Wallet
- Visit Relay.link.
- Click Connect Wallet and choose MetaMask or another supported EVM-compatible wallet.
- Make sure you're on the Ethereum Mainnet.
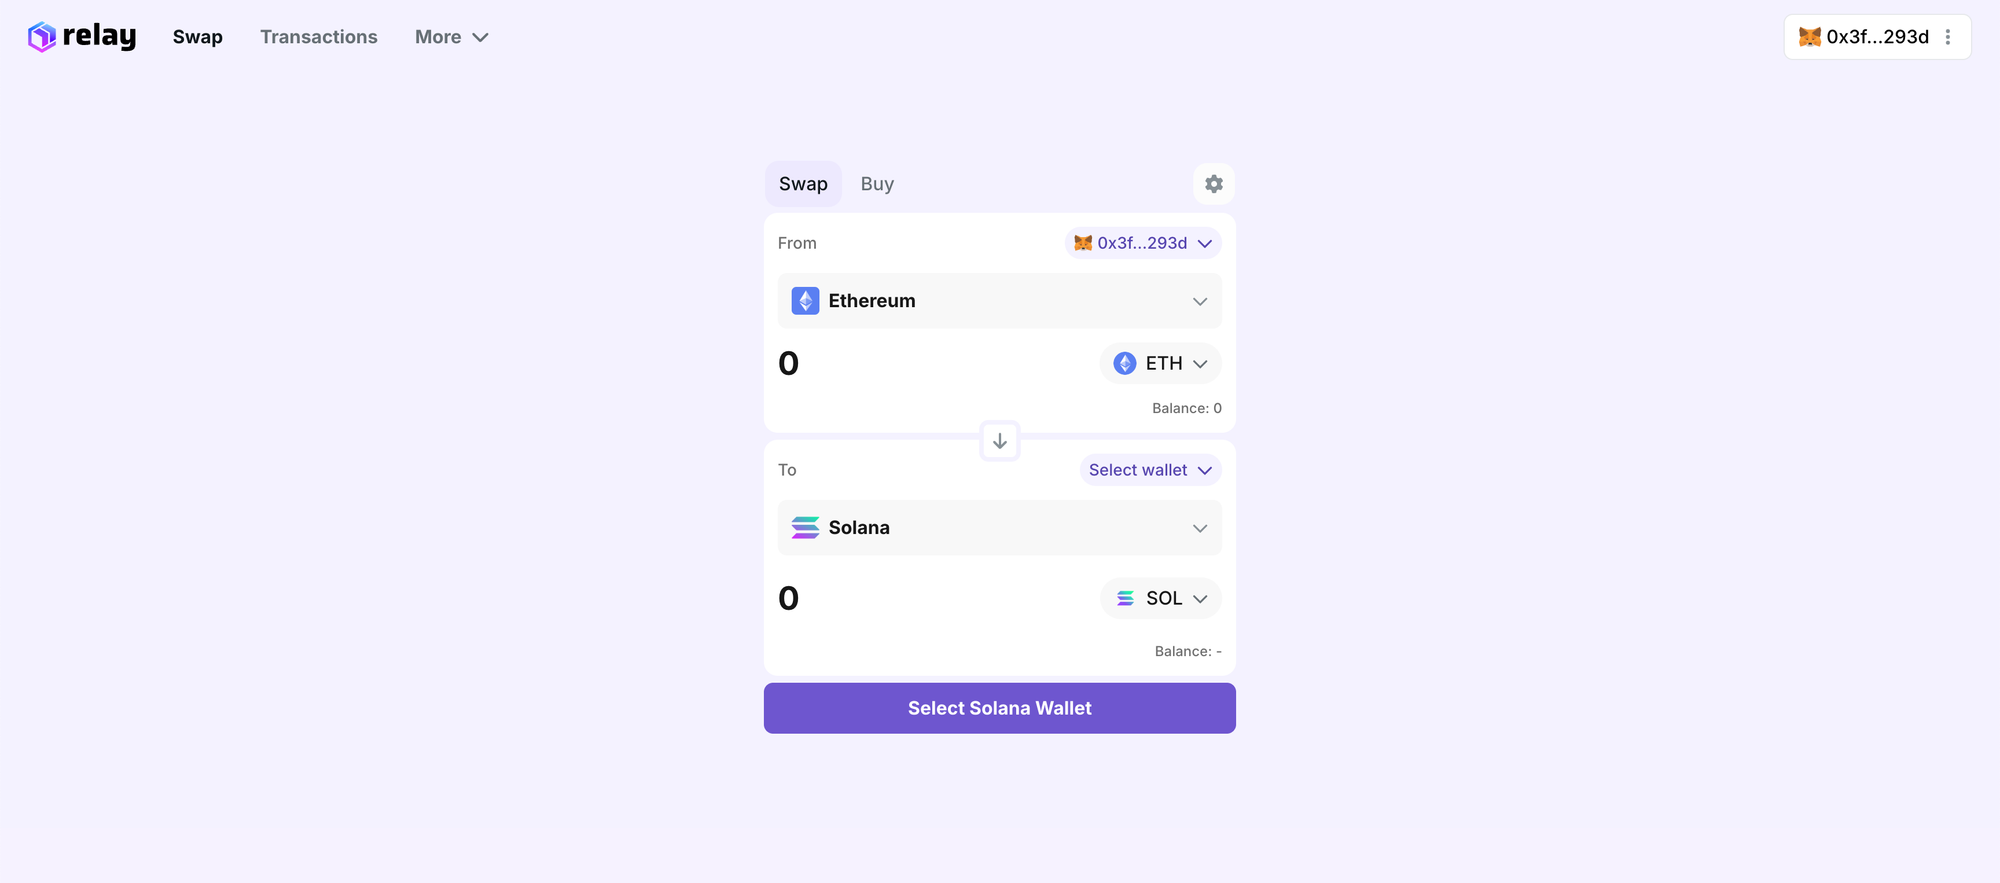
🔹 Step 2: Select Ethereum → Solana
- Head to the Swap tab.
- Under From, select Ethereum.
- Under To, select Solana.
- Choose ETH as the asset you want to bridge.
⚠️ Note: You may be prompted to confirm token approvals if this is your first time using the bridge.
🔹 Step 3: Connect Your Solana Wallet
- Click Connect Wallet again and choose your Solana wallet (e.g., Phantom).
- Approve the connection.
🔹 Step 4: Enter Amount & Confirm
- Enter the amount of ETH you want to bridge to Solana.
- Review the estimated fees and bridging time.
- Click Bridge Now.
- Approve the transaction in MetaMask (or your connected Ethereum wallet).
🔹 Step 5: Wait for Bridging to Complete
Bridging times may vary based on network congestion, but typically it takes a few minutes. You’ll be able to monitor progress right from the Relay dashboard.
Once completed:
- Your ETH will be wrapped and sent to your Solana wallet as WETH or soETH, depending on the bridge’s implementation.
- Open your Phantom wallet to view the received tokens.
Final Tips
- ✅ Use a reliable, audited bridge like Relay to ensure security.
- ✅ Keep a small amount of SOL in your wallet to cover transaction fees.
- ✅ Only bridge what you’re comfortable moving cross-chain.
Bridging ETH to Solana is a powerful way to access new applications, earn yield, and experience a different kind of Web3 UX. Thanks to Relay, the process is smoother and safer than ever. Whether you're exploring NFTs or diving into lightning-fast DeFi protocols, bridging to Solana can supercharge your crypto experience.